Getting Started
The jspicl CLI streamlines your PICO-8 game development by taking care of the build process so you can focus on the implementation.
Features:
- Built-in build pipeline powered by esbuild
- Tree-shaking to minimize token count
- PNG spritesheet support - use your favorite image editor
- Live reloading with watch mode
Installation
npm install -D @jspicl/cliUsage
First, create a config file:
// jspicl.config.ts
import type {Config} from "@jspicl/cli/types";

const config: Config = {
  jsOutput: "build/game.js",
  showStats: true
};

export default config;
Then create your game file:
// src/game.js
function _init() {
  x = 64;
  y = 64;
}

function _update() {
  if (btn(0)) x -= 1;
  if (btn(1)) x += 1;
  if (btn(2)) y -= 1;
  if (btn(3)) y += 1;
}

function _draw() {
  cls();
  circfill(x, y, 4, 8);
}
Now run the CLI to generate a PICO-8 cartridge:
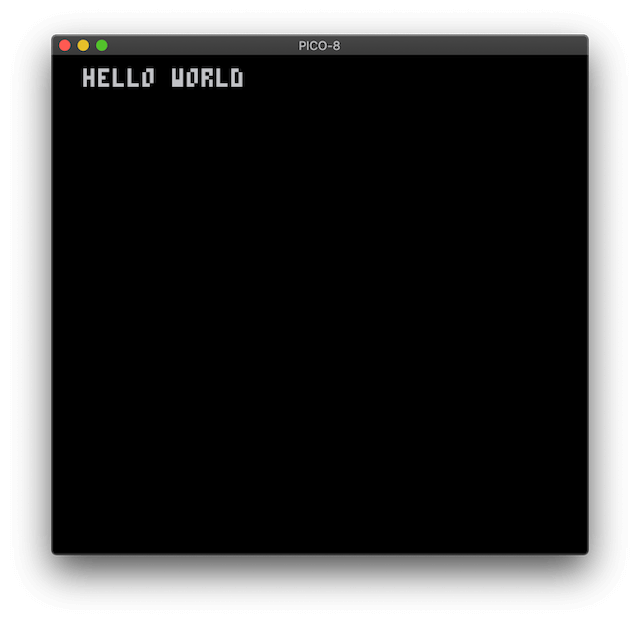
jspicl src/game.js build/game.p8 --config jspicl.config.ts --watchAssuming you have PICO-8 installed on your system, you should see the following:
Any changes to the source code will reload PICO-8 automatically for you.
Note: Automatic PICO-8 reload is supported on macOS and Linux. On Windows, PICO-8 will launch but you'll need to press Ctrl+R to reload manually.
What Gets Generated
Your JavaScript is transpiled to PICO-8 Lua. The example above becomes:
function _init()
  x = 64
  y = 64
end

function _update()
  if btn(0) then
    x -= 1
  end
  if btn(1) then
    x += 1
  end
  if btn(2) then
    y -= 1
  end
  if btn(3) then
    y += 1
  end
end

function _draw()
  cls()
  circfill(x, y, 4, 8)
end
The CLI embeds this code into a .p8 cartridge file along with your spritesheet.
Adding a Spritesheet
Create a 128x128 pixel PNG image for your sprites:
// jspicl.config.ts
const config: Config = {
  spritesheetImagePath: "assets/sprites.png", // Must be 128x128
  jsOutput: "build/game.js",
  showStats: true
};
Use any image editor (Aseprite, Photoshop, GIMP, etc.). Colors are automatically matched to the PICO-8 palette.
Next Steps
- CLI Reference - All config options
- Supported Features - What JavaScript features work
- Example Projects - Full game templates